A few months ago Mum proposed having a garden party this summer to which I cooed “ooh I could make you some bunting.” It was met with a slightly perplexed reply, “bunting?” “Yes, bunting, it will be FUN” on seeing my enthusiasm for such sillyness Mum became a little bit warmer to the idea. But I don’t really think Mum was that enthusiastic, but then we all live in different worlds and this is mine.
You see since the Royal Wedding had been announced I’d seen a resurgence in bunting and had even contemplated making some red, white and blue triangles with which to adorn our house on the day itself. That idea had come and gone but I’d looked at all the pretty bunting around and the bunting that adorned Devon on the wedding day itself were really pretty and at that point I was still hankering after bunting of my very own. So it was more me and what I would like but I knew I could win Mum round.
I toddled home and immediately set to work on the net to source some pretty colours and found some very pretty Amy Butler fabrics reduced to half price at Get Knitted. Five metres was ordered in five different colourways and once they came I then had to put together a pattern I was happy with. When the fabric came I cooed over it and rang Mum and told her it had come, which was met with a warm welcome. And so with this idea buzzing around in my brain the work began.
There are lots of places to get ideas as to how to make bunting, so I won’t go through all of that. But I did decide to make the sturdy bunting with two sheets sewn together and all seams on the inside rather than just one sheet of fabric cut with pinking sheers that would wither and die if the British weather decided to turn against us. I chose to make a big pointy triangle and have the template stored somewhere in my computer should anyone need it.
Eventually I had cut out 120 triangles, I folded the fabric and cut out four at a time, (don’t forget to iron your fabric before starting) with the use of a template, a HB pencil, ruler, rotary cutter and mat. I am so very grateful that I have learnt to quilt otherwise I most probably would have gone down the route of cutting them out with scissors which whilst doable would have taken a very long time and left me with sore hands. Rotary cutters are a girls best friend. Being an accurate kind of gal this took me three sessions to complete.
Then I sewed all the triangles wrong side together down their two longest sides and as a hint and tip at the sharp point put a few extra stitches going over each other so that when your long pointy knitting needle pushes the points out it doesn’t break the stitches and you don’t find yourself muttering unpleasants under your breath. Fortunately I had done a test run and found the weakness in a few triangles before embarking on the marathon run of sewing 60 triangles. It took me a couple of days to complete this part of the procedure. I then clipped the points to make the turning out easier, turned them out and then ironed them all again. And then son no.2 and I played with colours, always the favourite part and came upon a pattern we were both happy with and placed the piles of triangles in this pattern next to my sewing machine.
And I was ready and off I went, having no idea as to how much tape/bias binding to buy there were two different types used, slightly saddening for the perfectionist that I am, but if anyone is going to spot and critise that, then they have clearly missed the idea of the day.
Before I got sewing proper I did a quick test run as to what gap I favoured. I used marks on my sewing machine, I tried the end of the foot plate, the corner of the machine or the drop to the table as a guide, I only pinned at this point and I realised that I rather liked the small gap which was produced by sewing to the end of the triangle and then placing the next triangle at the edge of the footplate. With that technique I was able to achieve a gap that was regular without too much measuring or stress. 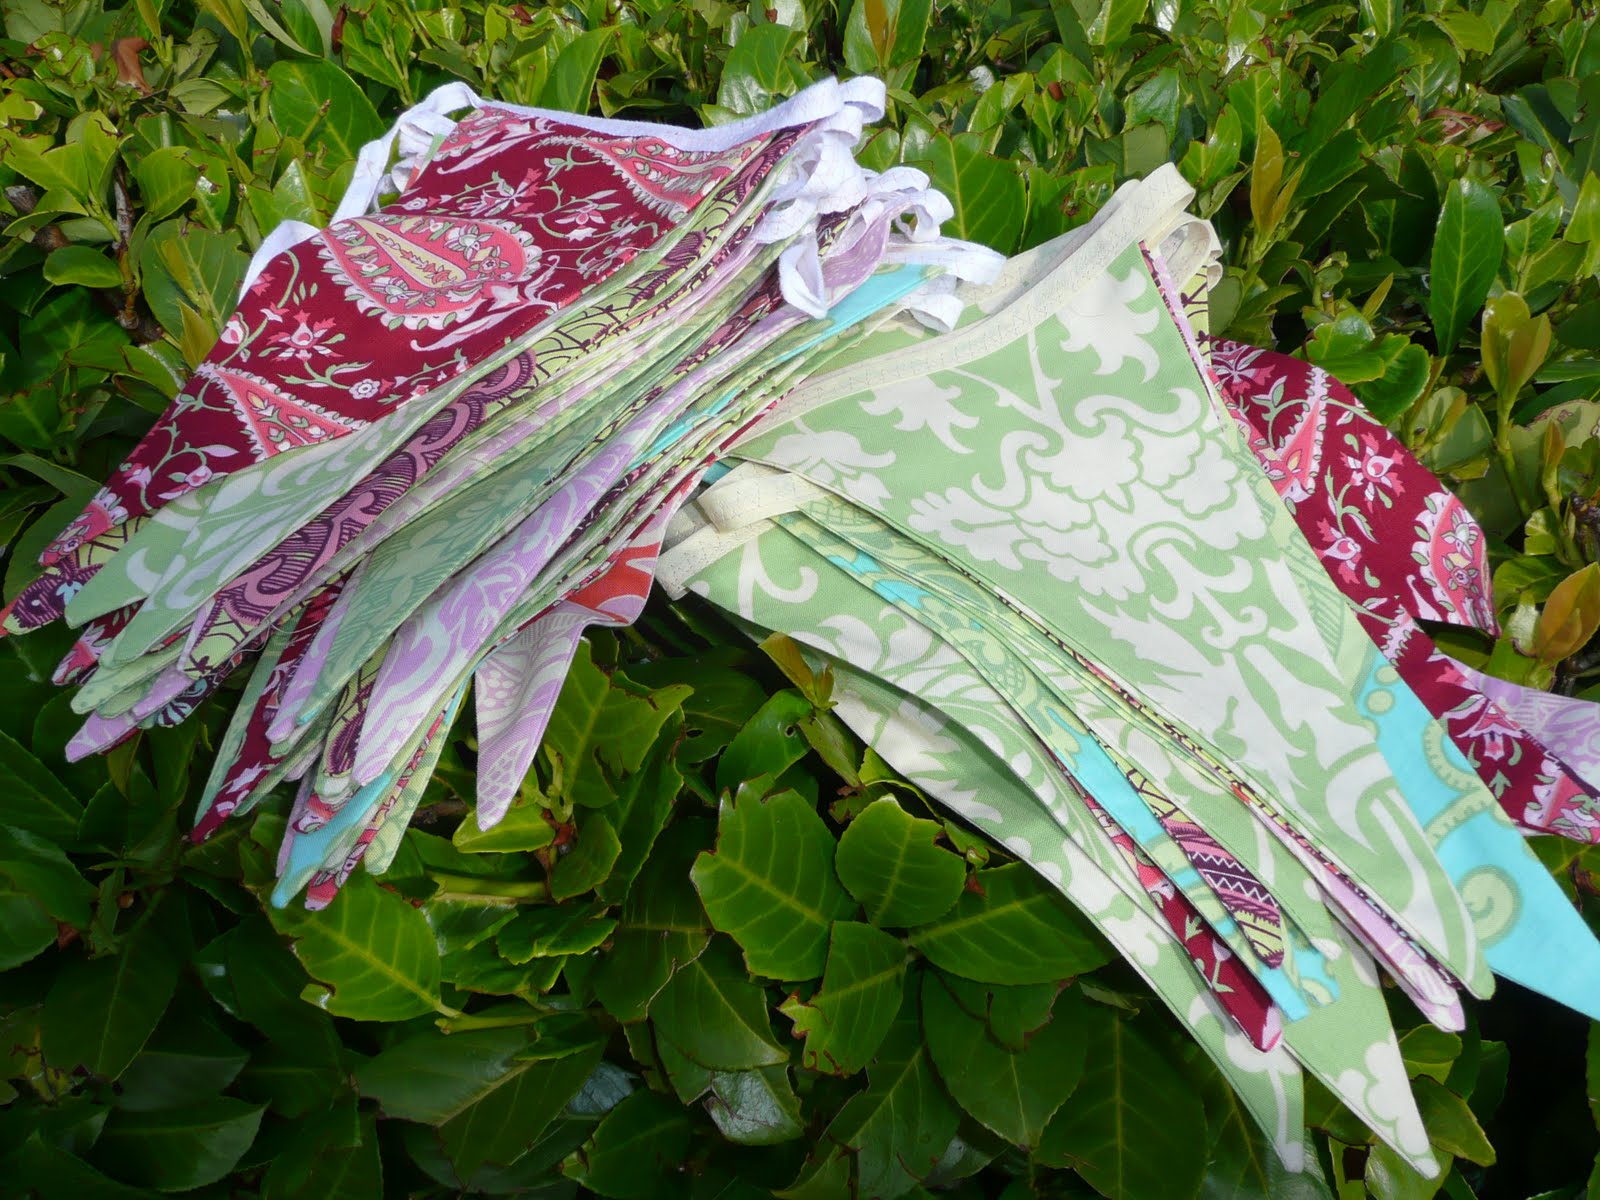
And soon I had 3 x 5 metres of bunting..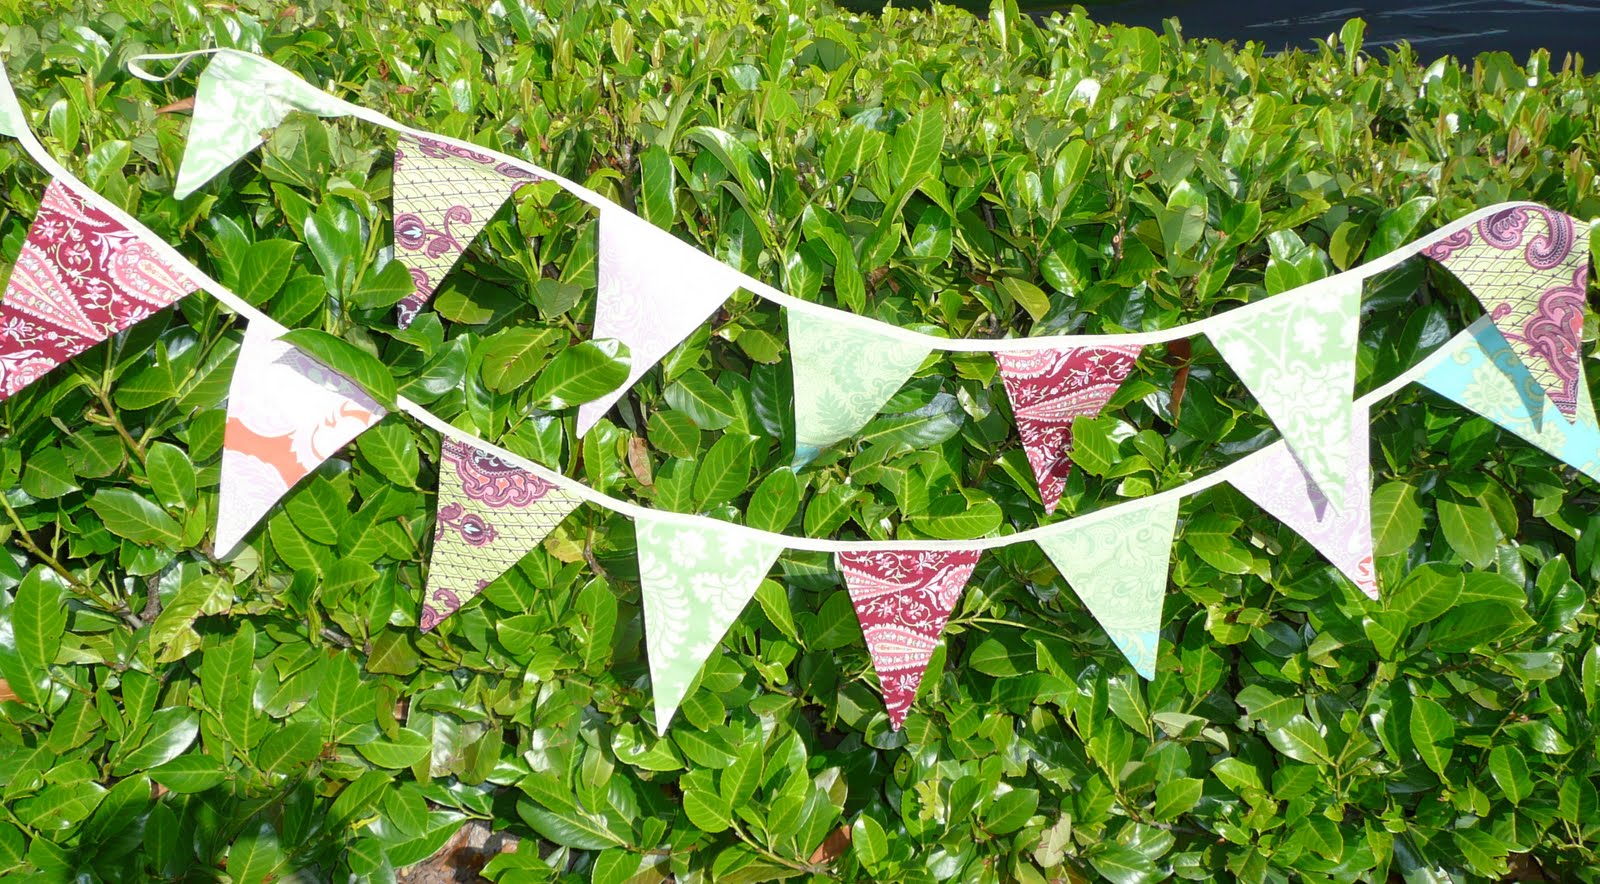
A quick pic of one of them, too much sun for my camera, I am sure they will look fabulous on the day.
But then being the perfectionist that I am, I ironed the binding and whilst it was still damp, (I have a super dupa steam iron) I check to see if the triangles would hold steady and was shocked to find that some of them didn’t. Well that would never do, not least because firstly if we did have a quick shower with wind some of them would come away and secondly, you know what family is like, someone (especially after a couple of drinks – my mothers punch should have a health warning on it!) would be sure to tell me that this particular triangle had separated from his or her friends and I would become crest fallen.
So I needed a plan and came up with using a pattern on my sewing machine that not only zig zagged but it sewed the zig zag in stages so as to secure the fabric securely, set my machine so as not to go over the binding and off I went, five metres at a time. Now my machine can go pretty fast and I’ve never before this have had it at full speed… It was amazing, seriously I will never sew so fast again in all my life!
You can just about see the zig zag in this picture.
I showed Carie and Kitty the bunting, Kitty was quite enchanted by it and loved us waving the bunting, by her smiles and giggles I do believe she is her mothers daughter. And Dad, well he suggested we should tie it to his car and he could drive down the high street with bunting catching the wind behind him. And I was right, Mum laughed and giggled and loved it too.

I cannot sew. I envy your skills at making bunting and snakes and quilts etc, etc!!!Everything you sew is beautiful…
LikeLike
You have really come up trumps here, and everyone will remember this.
LikeLike
You've come up trumps with your bunting, flowers and salmon, everyone will remember this party!
LikeLike